In this post we are going to show you how to easily go through John Deere authorization flow with Leaf. That is, get authorized to access your users' John Deere data with Leaf. We'll be making some calls to Leaf, all endpoints can be found in our docs and Postman collection. Let's get to it!
(Clique aqui para a tradução em português)
Did you know the quickest and simplest way to enable provider authentication is through Magic Link or Leaf Link? Leaf provides pre-built widgets (Leaf Link) and shareable URLS (Magic Link) so you can save time on building UI. Talk to us to learn more about pricing.
Summary
- Step 0: Create a developer account with John Deere
- Step 1: Get your John Deere developer credentials
- Step 2: Get your users’ John Deere tokens with Leaf
- Step 3: Get permission to access your user’s data
- Step 4: Add John Deere credentials to Leaf
Keep in mind that this tutorial is a full walkthrough. Most of the steps presented will be done only once, meaning that subsequent calls will be much easier and faster.
Step 0: Create A Developer Account With John Deere
(if you already have a developer account in John Deere, you can skip this step)
Register for a John Deere developer account here.
Step 1: Get Your John Deere Developer Credentials
By the end of this step, you will want to have retrieved:
your App ID and Shared Secret
First, navigate to the John Deere developer page, click the user icon (top right corner), click 'sign in' and enter your login details.
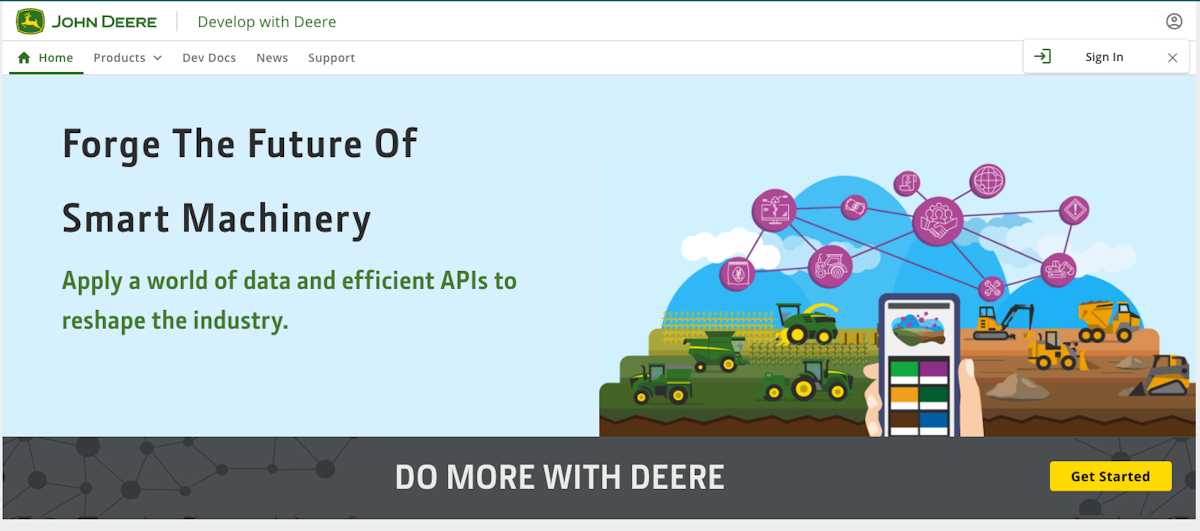
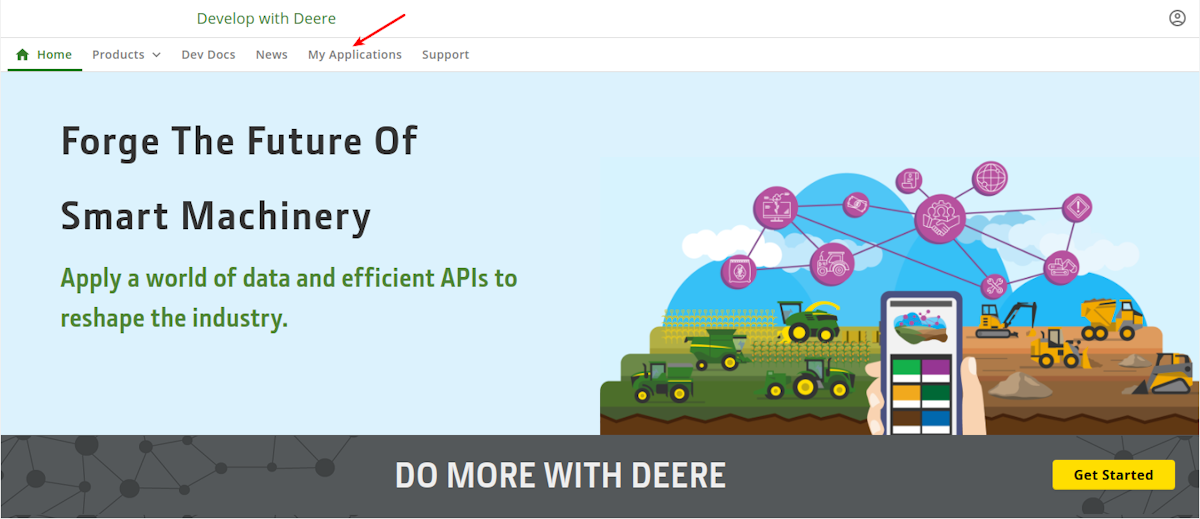
Click on "My Applications" in the horizontal bar:
Then, click "Create Application" to create a new application.

Fill in the data according to your company:
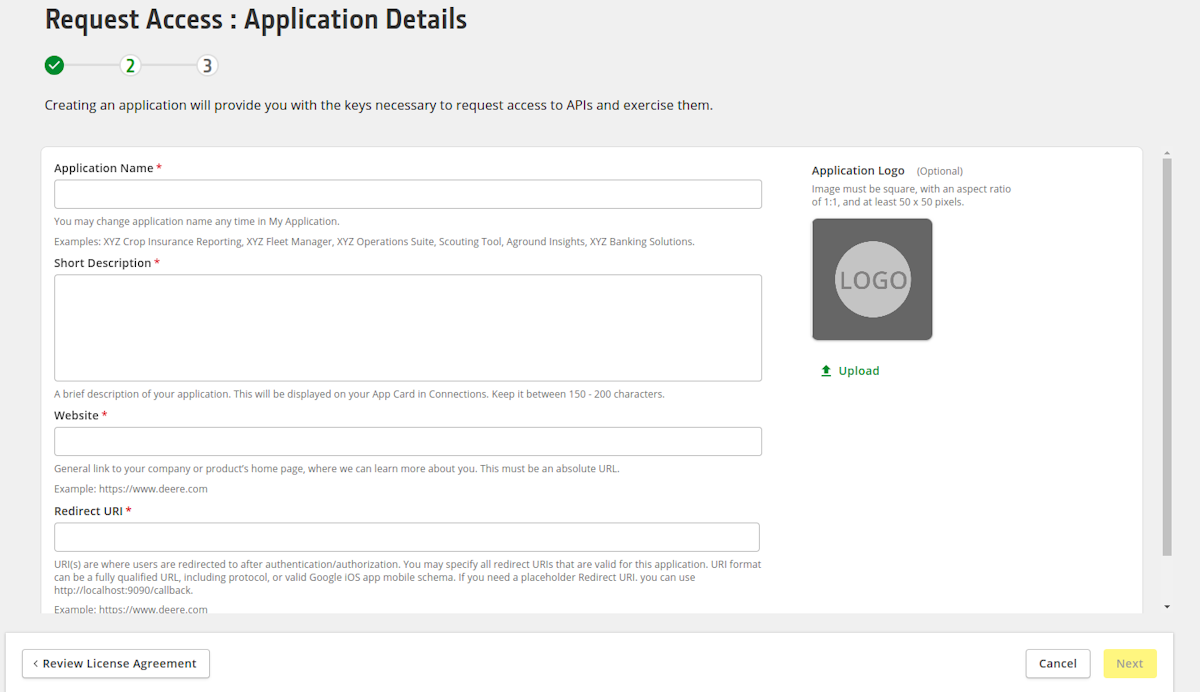
And now, select the APIs that you would like to access. Select Field Operations, Webhook and if your application requires other data (such as grower/farm/field/boundaries or machines), select the appropriate APIs in this step.

This is the API access required for each Leaf Product:
| Leaf | John Deere API access |
|---|---|
Base |
Organizations, Webhook |
Field Boundary |
Clients, Farm, Field, Boundaries |
Machine Files/Field Operations |
Field Operations, Files |
Beta > Prescriptions |
Files |
Beta > Assets > Machines |
Machines |
Beta > Assets > Implements |
Implements |
Beta > Assets > Operators |
Operators |
Beta > Input database (JD products) |
Products |
Finally, get an App ID and Secret:
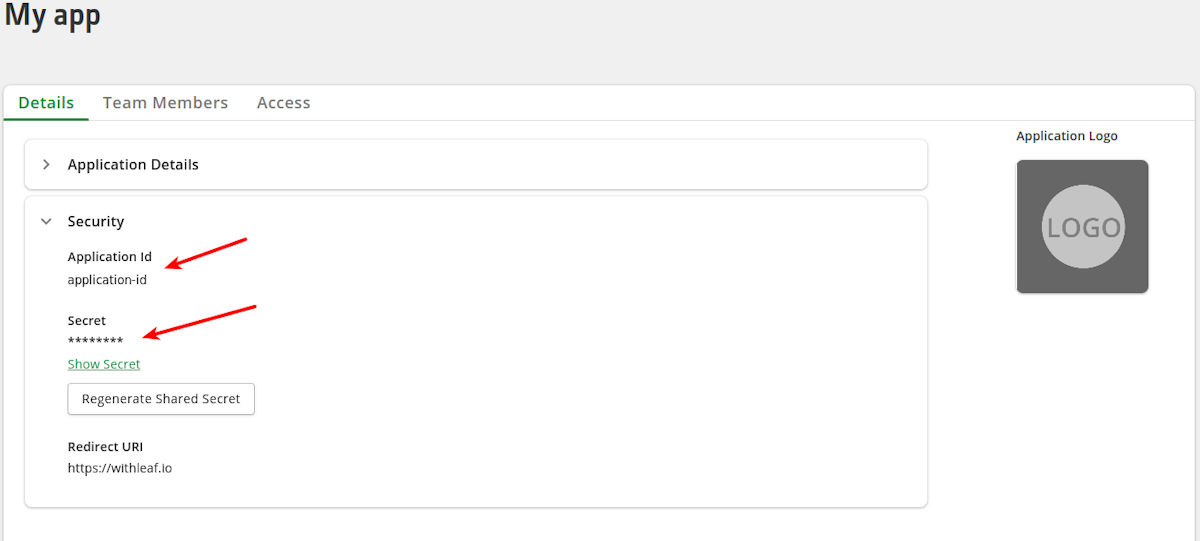
John Deere will contact you soon to grant you access to the required endpoints.
Step 2: Get your users’ John Deere tokens with Leaf
To get your users' tokens to access their John Deere data, your application must go through John Deere OAuth flow. First, you need to redirect the user to a custom URL that is the John Deere page that will present the user the choice of authorizing your app to access their data.
To get the URL for this authentication step, send a POST to
with the following JSON:
https://johndeere-oauth2-helper.withleaf.io/
get_url
with the following JSON:
{
    "clientKey": "Your John Deere app ID",
    "clientSecret": "Your John Deere app Secret",
    "clientRedirectUrl": "Your app's URL"
}
Leaf will return a URL that you can send your user to, so they can authorize access to their data and be redirected to your app. Note that John Deere will redirect your user to the "clientRedirectUrl" and also send a code that you will need to make a final request, and get your users' tokens. The clientRedirectUrl must be set in your app’s configuration.
Get the user’s tokens
Now, the last thing needed is to get the user’s tokens. Once users log in on John Deere's website link you created, they will authorize your application to access their data and they will be redirected back to the "clientRedirectUrl" you set. Then, your application will use the response URL to get the user’s tokens. Send a POST to
https://johndeere-oauth2-helper.withleaf.io/
get_token
with the following JSON:
{
    "clientKey": "Your John Deere app ID",
    "clientSecret": "Your John Deere app Secret",
    "responseUrl": "The URL John Deere redirected the user to"
    "clientRedirectUrl": "Your app's URL"
}
A JSON containing the tokens ("accessToken" and "refreshToken") will be returned, and you can add them to Leaf as John Deere credentials.
note: Leaf will manage each and every token, making sure they are always refreshed and valid.
Step 3: Get Permission To Access Your User’s Data
Now that the user is connected to your application, the user must allow you to access the data. To do so, redirect your user to the following URL:
https://connections.
deere.com/connections/
yourJohnDeereAppId/
select-organizations?redirect_uri=
yourRedirectUrl
Replace the required URL fields with your John Deere Application ID and the redirect of your application. The redirect URL does not need to be the same as the one used in the previous step, as long as it is also registered in your app’s configuration. Your user will be redirected to the following screen:
.png?auto=format&w=1200)
In this screen the users will select the organizations they want to share data with you, toggle the button so it’s green, and save. Leaf will only be able to fetch data from allowed organizations. After that, the users will be redirected to the specified redirect URL.
Step 4: Add John Deere Credentials To Leaf
When you integrate with a provider via Leaf, you'll need to create something called a 'Leaf User', which is used to manage provider authentication and organize data for your end users. In most cases, the Leaf User will be the farmer or consultant that has access to the source data inside the machinery company’s FMIS (e.g. John Deere Operations Center or Climate Field View platform).
To send your credentials to Leaf, you will need your access token from Leaf, and have already created a Leaf User.
Here is how you get your access token.
Here is how you create a Leaf User.
note: the same Leaf User can be attached to many providers, so you can query data for that Leaf User from all the providers they have data with at the same time.
Now, attach your credentials to the Leaf User you created. Send a POST to
https://api.withleaf.io/
services/usermanagement/
api/users/yourLeafUserId/
john-deere-credentials
with the following Header:
Authorization: Bearer
and with the following JSON
{
    "clientKey": "Your John Deere app ID",
    "clientSecret": "Your John Deere app Secret",
    "refreshToken": "The Refresh Token from the last step"
    "clientEnvironment": "The environment to use with this credential"
}
The default value for clientEnvironment is STAGE, also known as Sandbox by John Deere. In order for you to have working credentials with clientEnvironment as PRODUCTION, your application must have production permissions from John Deere, otherwise you won’t be able to use those credentials. To gain production permissions you can follow John Deere’s tutorial.
Make sure you are following the STAGE/Sandbox John Deere guidelines to be compliant and avoid your application being revoked, so you can have a smooth transition to production later:
- Only have one test account (1 Leaf API Owner);
- Application must not be connected to more than five organizations (Leaf Users);
- Application must not be making more than 150,000 API calls a month (Leaf handles this);
- Application must not be in the sandbox environment for over 18 months.
Excellent!
Now Leaf will start fetching your farm data from John Deere. You can now query Leaf for your standardized data.
